Article: How to Install a 613 Wig: A Step-by-Step Guide
How to Install a 613 Wig: A Step-by-Step Guide
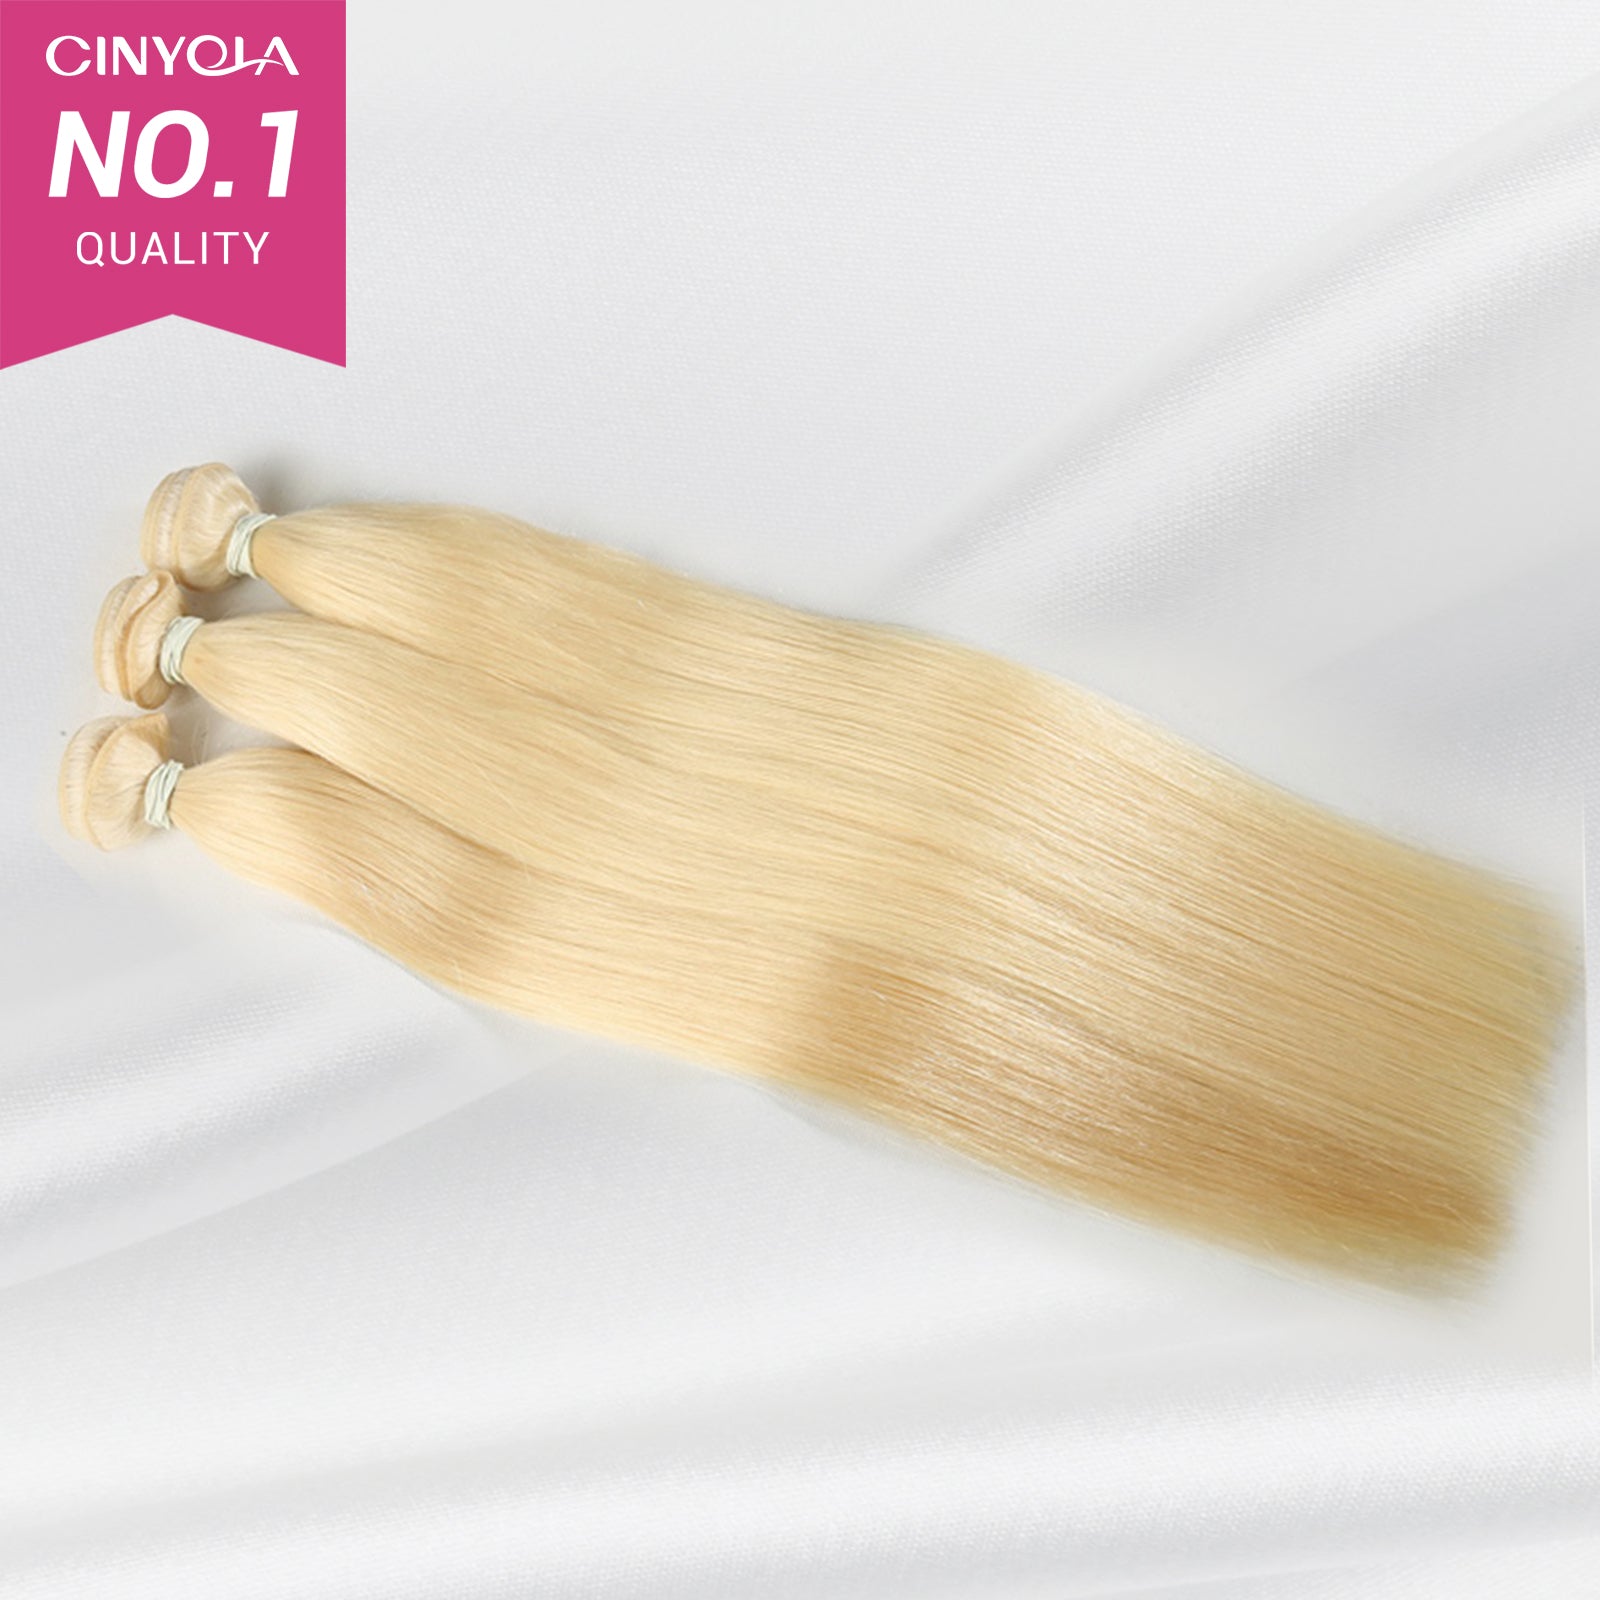
The 613 wig, known for its sleek and natural blonde color, is a favorite among wig enthusiasts. Whether for everyday wear or special occasions, the 613 wig can add a touch of glamour to your look. Here’s a detailed guide on how to install a 613 wig, ensuring you get a perfect fit every time.
Materials Needed
- 613 wig
- Needle comb or wide-tooth comb
- Scissors
- Wig cap
- Hair clips
- Adhesive (for lace front wigs)
- Alcohol wipes (for cleaning the hairline)
- Blow dryer (optional)
Step 1: Prepare Your Natural Hair
- Clean and Condition: Wash and condition your hair to ensure it’s clean and free of oils and residue. This will help the wig adhere better and look more natural.
- Braiding: Braid your hair into cornrows. This helps create a flat surface for the wig to sit on. If your hair is short, you can slick it back with gel or hairspray.
Step 2: Put on the Wig Cap
- Wear the Cap: Put on the wig cap, ensuring it covers all your hair. Tuck in any loose strands.
- Secure the Cap: Use bobby pins or clips to secure the wig cap, especially around the edges, to keep it from slipping.
Step 3: Prepare the Wig
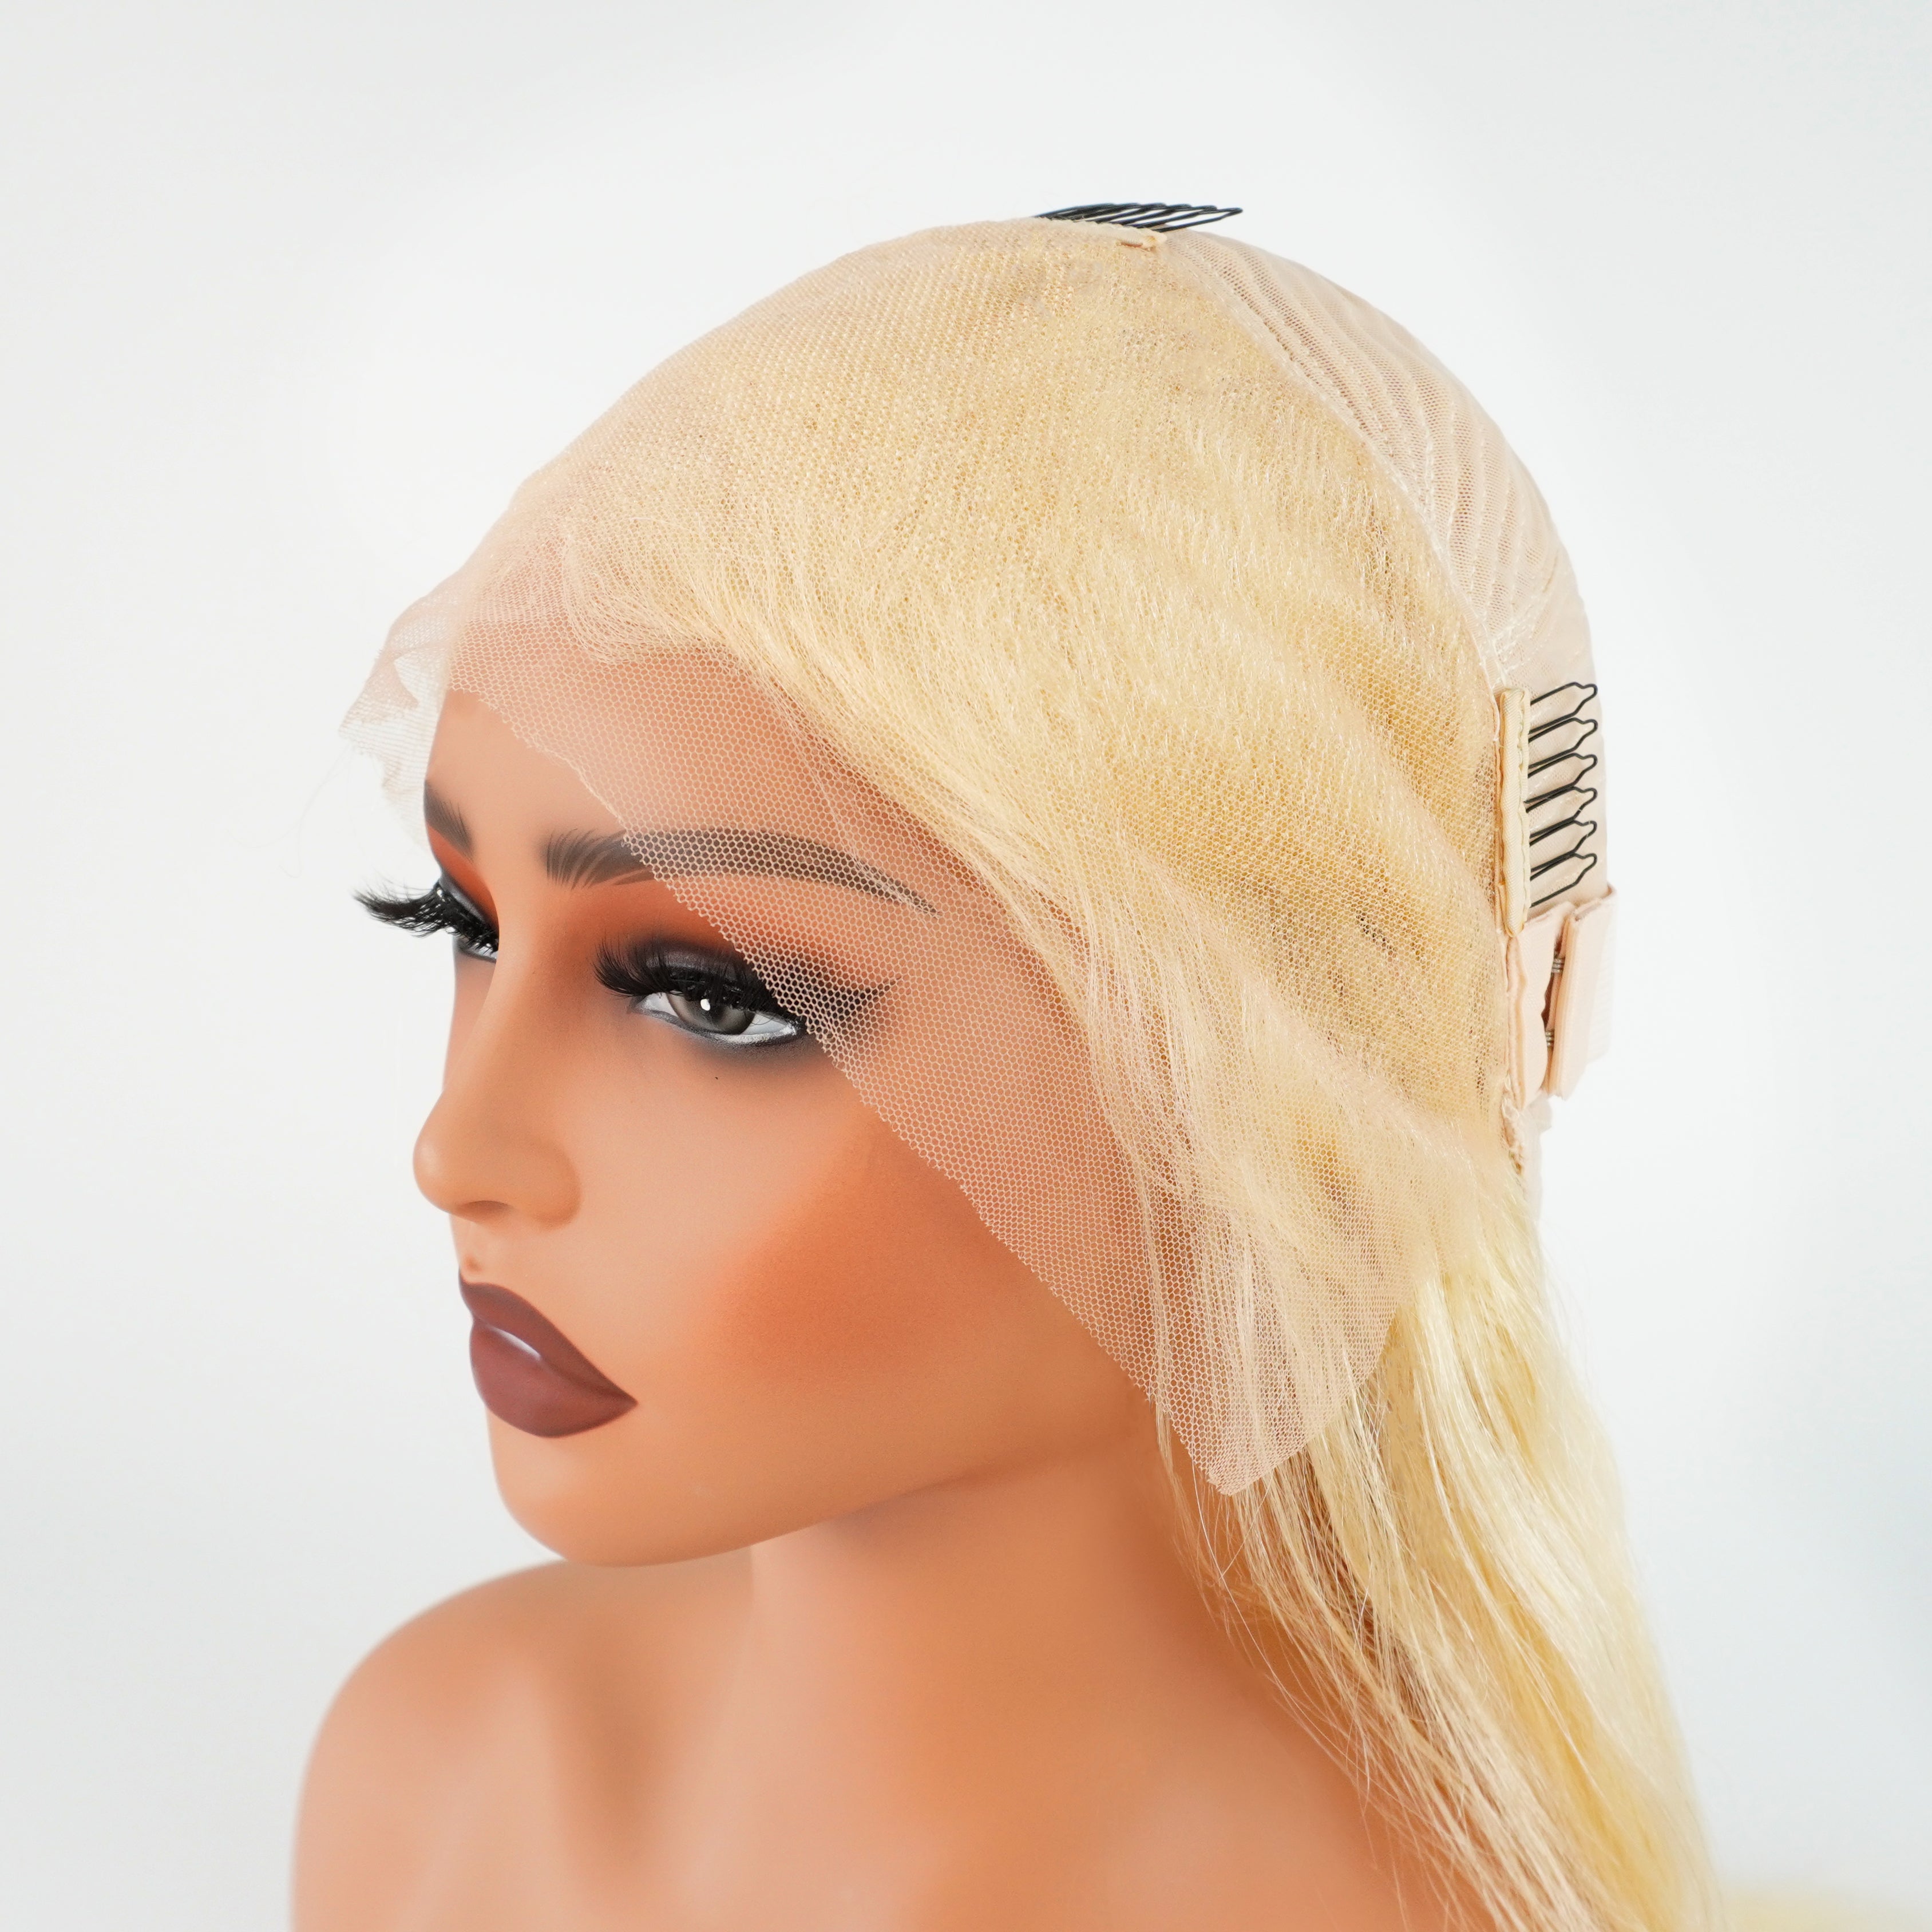
- Adjust the Wig: If necessary, adjust the straps inside the wig to fit your head snugly. This helps keep the wig in place.
- Trim the Lace: If you have a lace front wig, carefully trim the lace along the hairline, leaving about a quarter inch of lace.
Step 4: Clean Your Hairline
- Clean with Alcohol Wipes: Use alcohol wipes to clean your hairline and remove any oils or makeup. This ensures the adhesive sticks better.
Step 5: Apply Adhesive
- Apply Glue or Tape: Apply a thin layer of adhesive along your hairline. If using glue, let it become tacky before applying the wig.
- Blow Dry: You can use a blow dryer on a cool setting to speed up the drying process.
Step 6: Install the Wig
- Position the Wig: Place the wig on your head, starting at the front. Align the wig’s lace with your natural hairline.
- Press and Secure: Gently press the lace into the adhesive, starting from the center and working your way outwards. Use a comb to press down the edges for a secure fit.
Step 7: Style the Wig
- Comb and Style: Use a needle comb or wide-tooth comb to style the wig as desired. You can straighten, curl, or style the wig to your preference.
- Blend: If needed, use makeup or concealer to blend the lace with your skin tone for a more natural look.
Tips for Maintenance
- Avoid Heat Damage: When styling with heat tools, use a heat protectant spray to prevent damage to the wig fibers.
- Regular Cleaning: Wash your wig regularly with a gentle shampoo and conditioner designed for synthetic or human hair wigs.
- Storage: Store your wig on a wig stand to maintain its shape and prevent tangling.
By following these steps, you can achieve a flawless and natural look with your 613 wig. Enjoy the versatility and confidence that comes with wearing a beautiful wig!















Leave a comment
This site is protected by hCaptcha and the hCaptcha Privacy Policy and Terms of Service apply.