How to Make a Wig: A Step-by-Step Tutorial
Introduction
Wigs are not only a fashion accessory but also a source of confidence for those who have lost their hair for various reasons. Making a wig may seem complex, but with the right techniques, anyone can create a beautiful wig. This blog post will walk you through each step of wig-making, from gathering materials to final styling, helping you master this skill.
Materials Needed
Before you start, make sure you have the following materials:
- Wig Cap: The foundation of your wig, available in various sizes and colors.
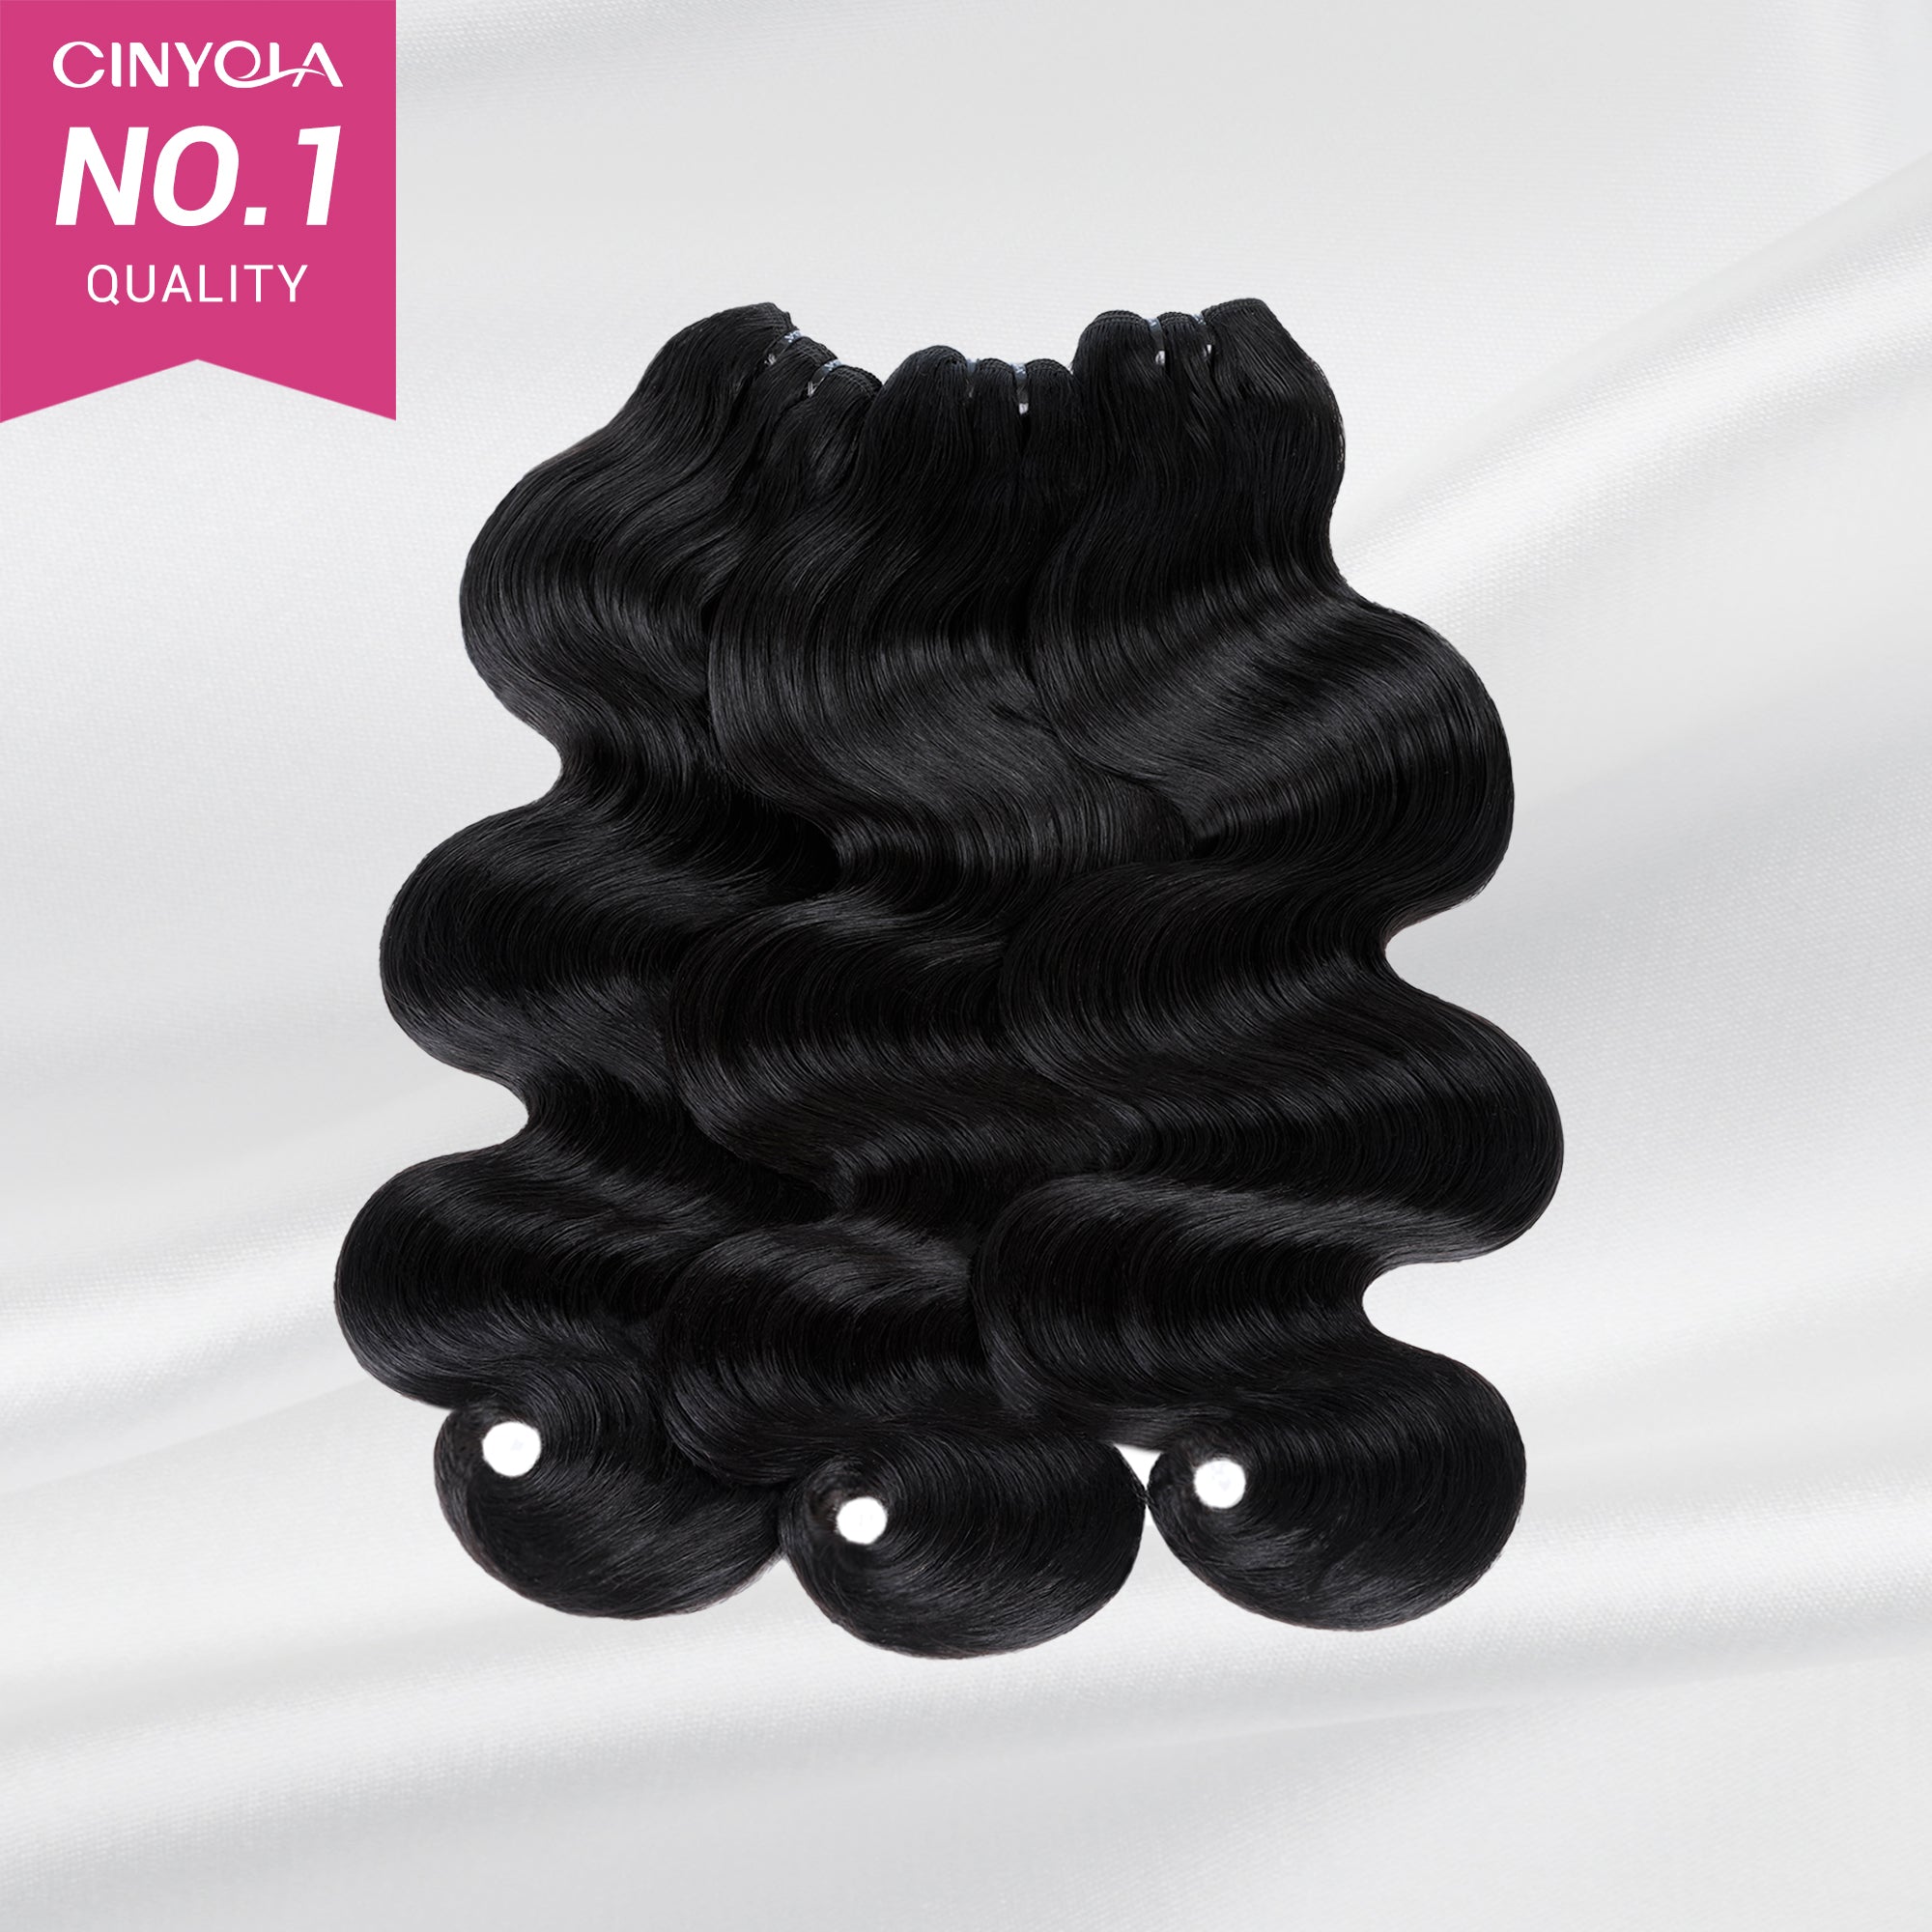
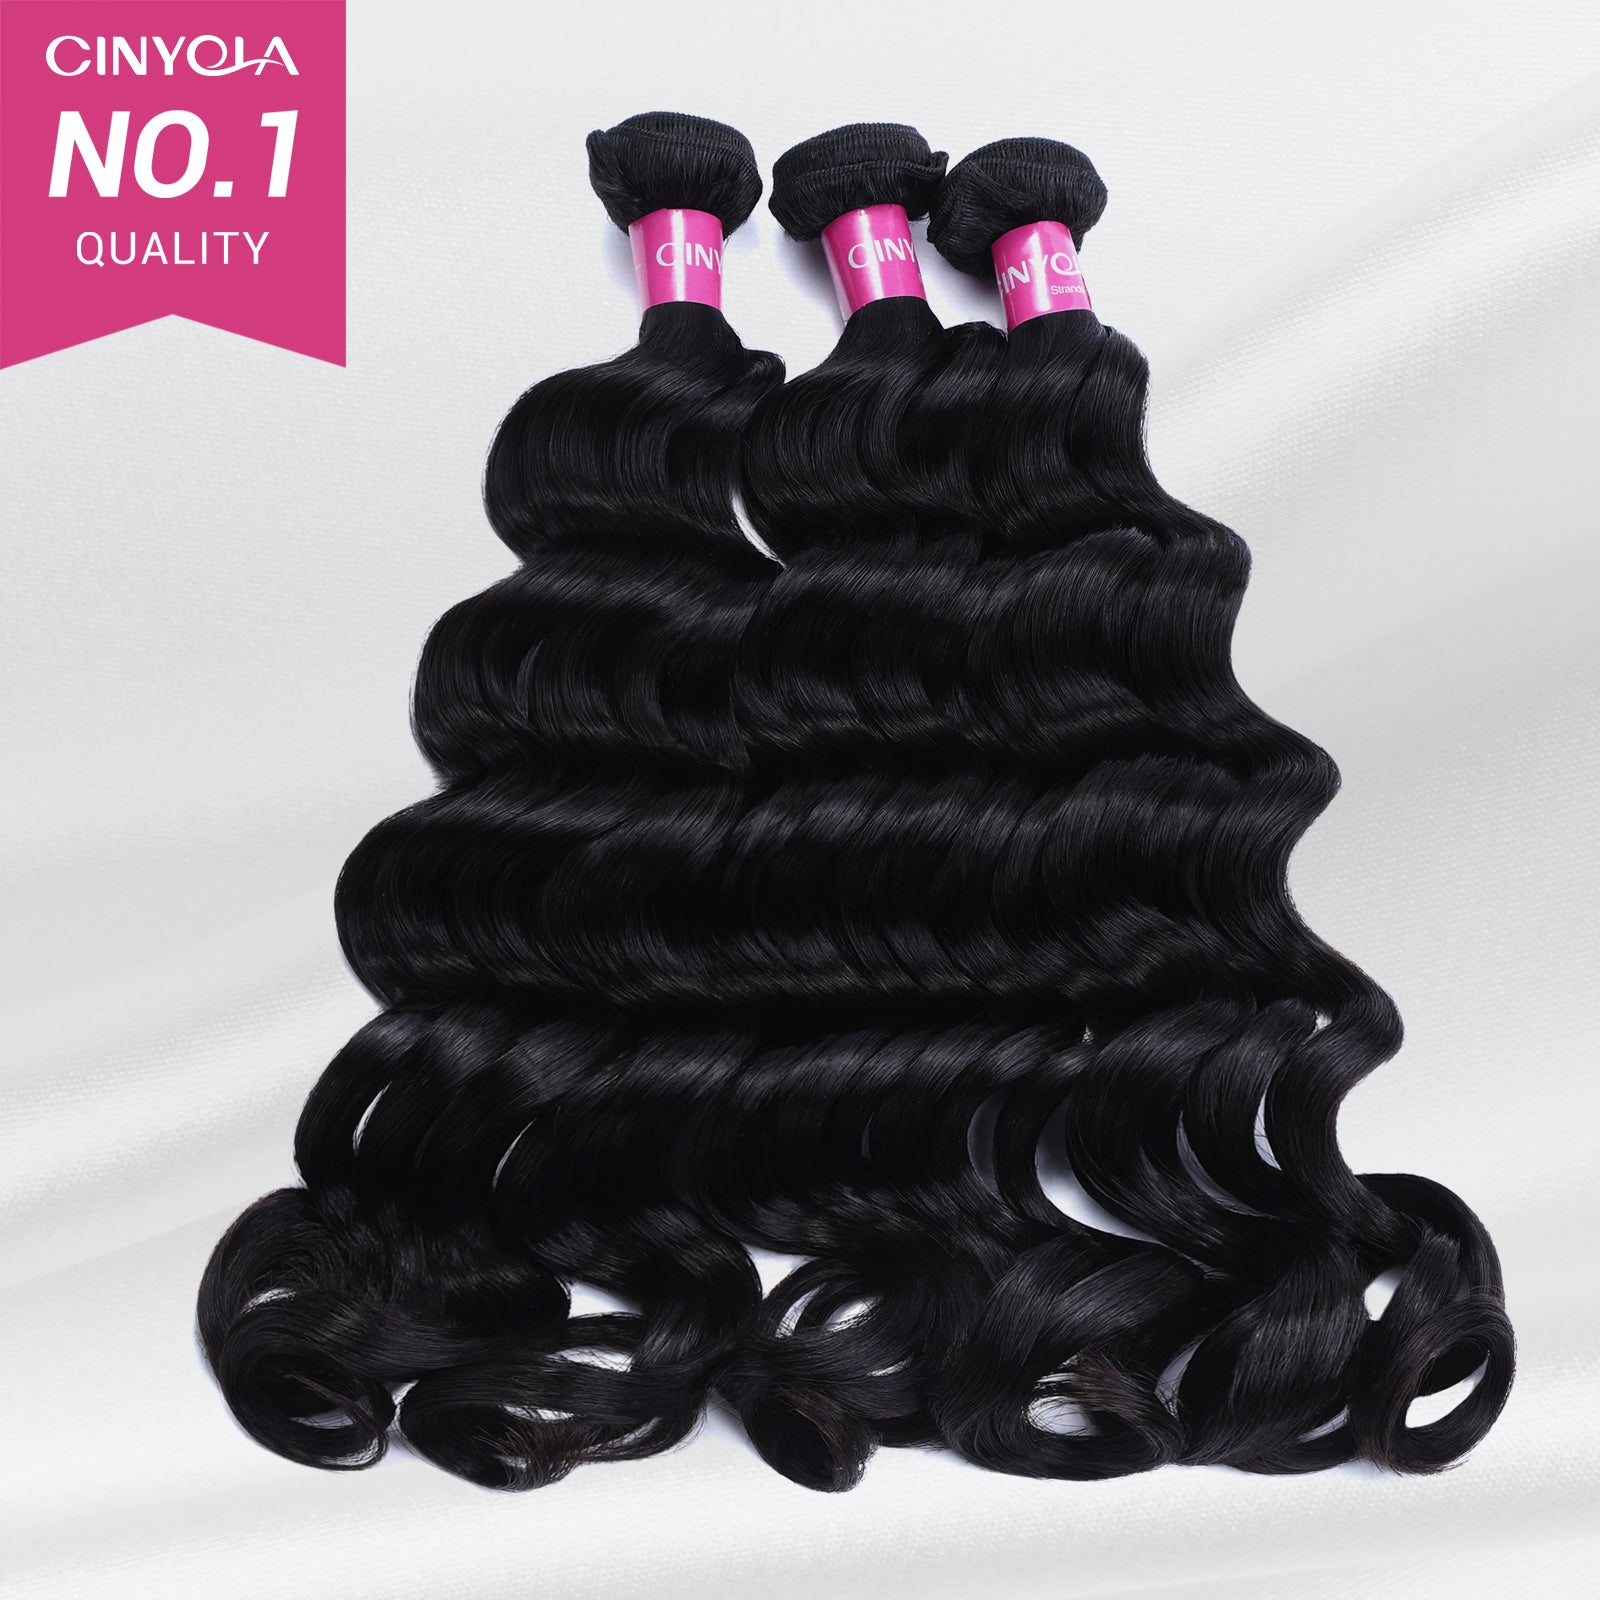
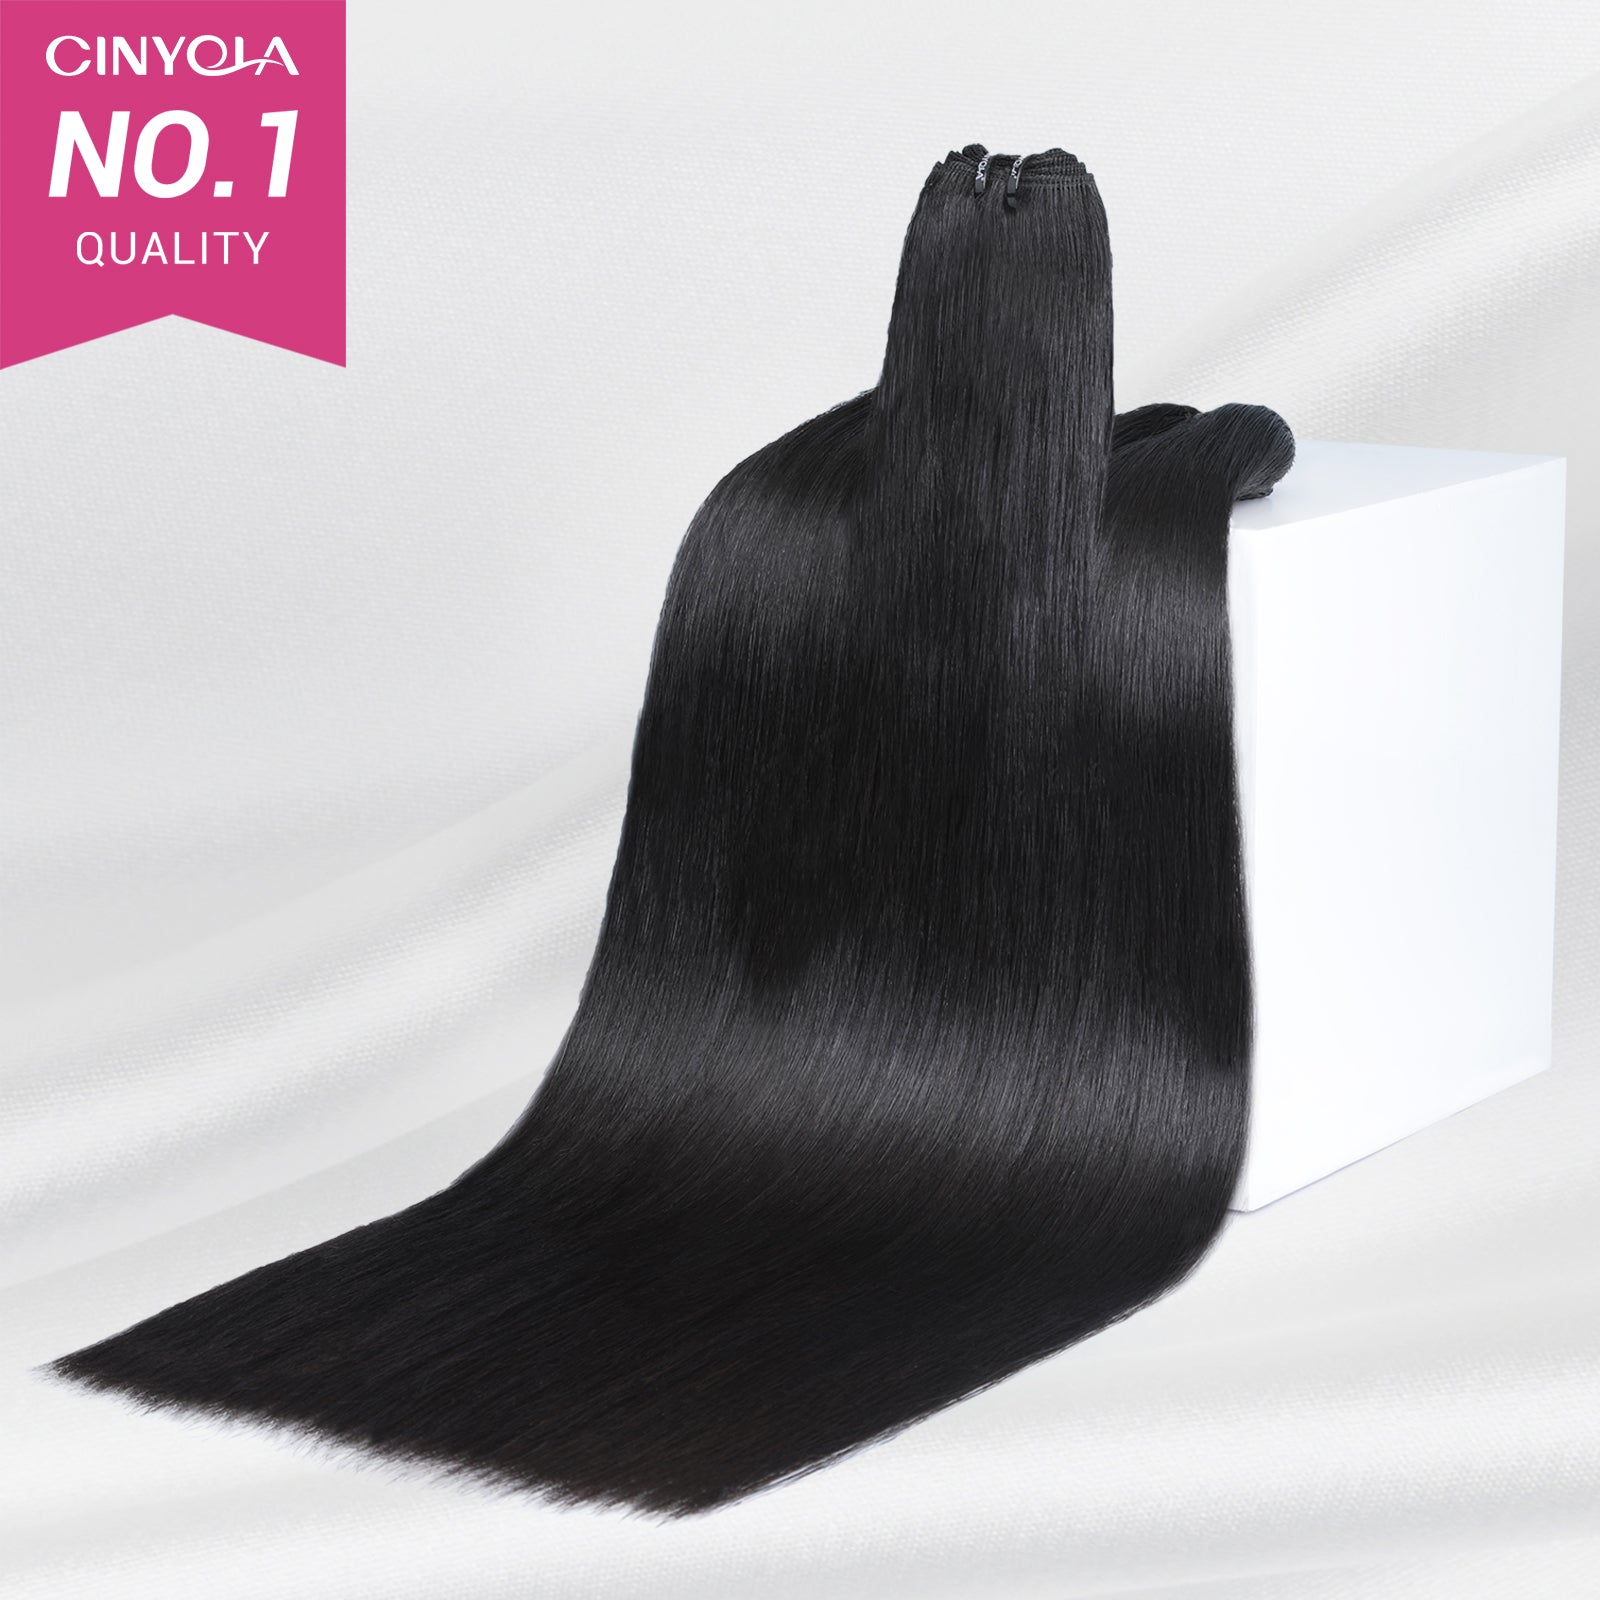
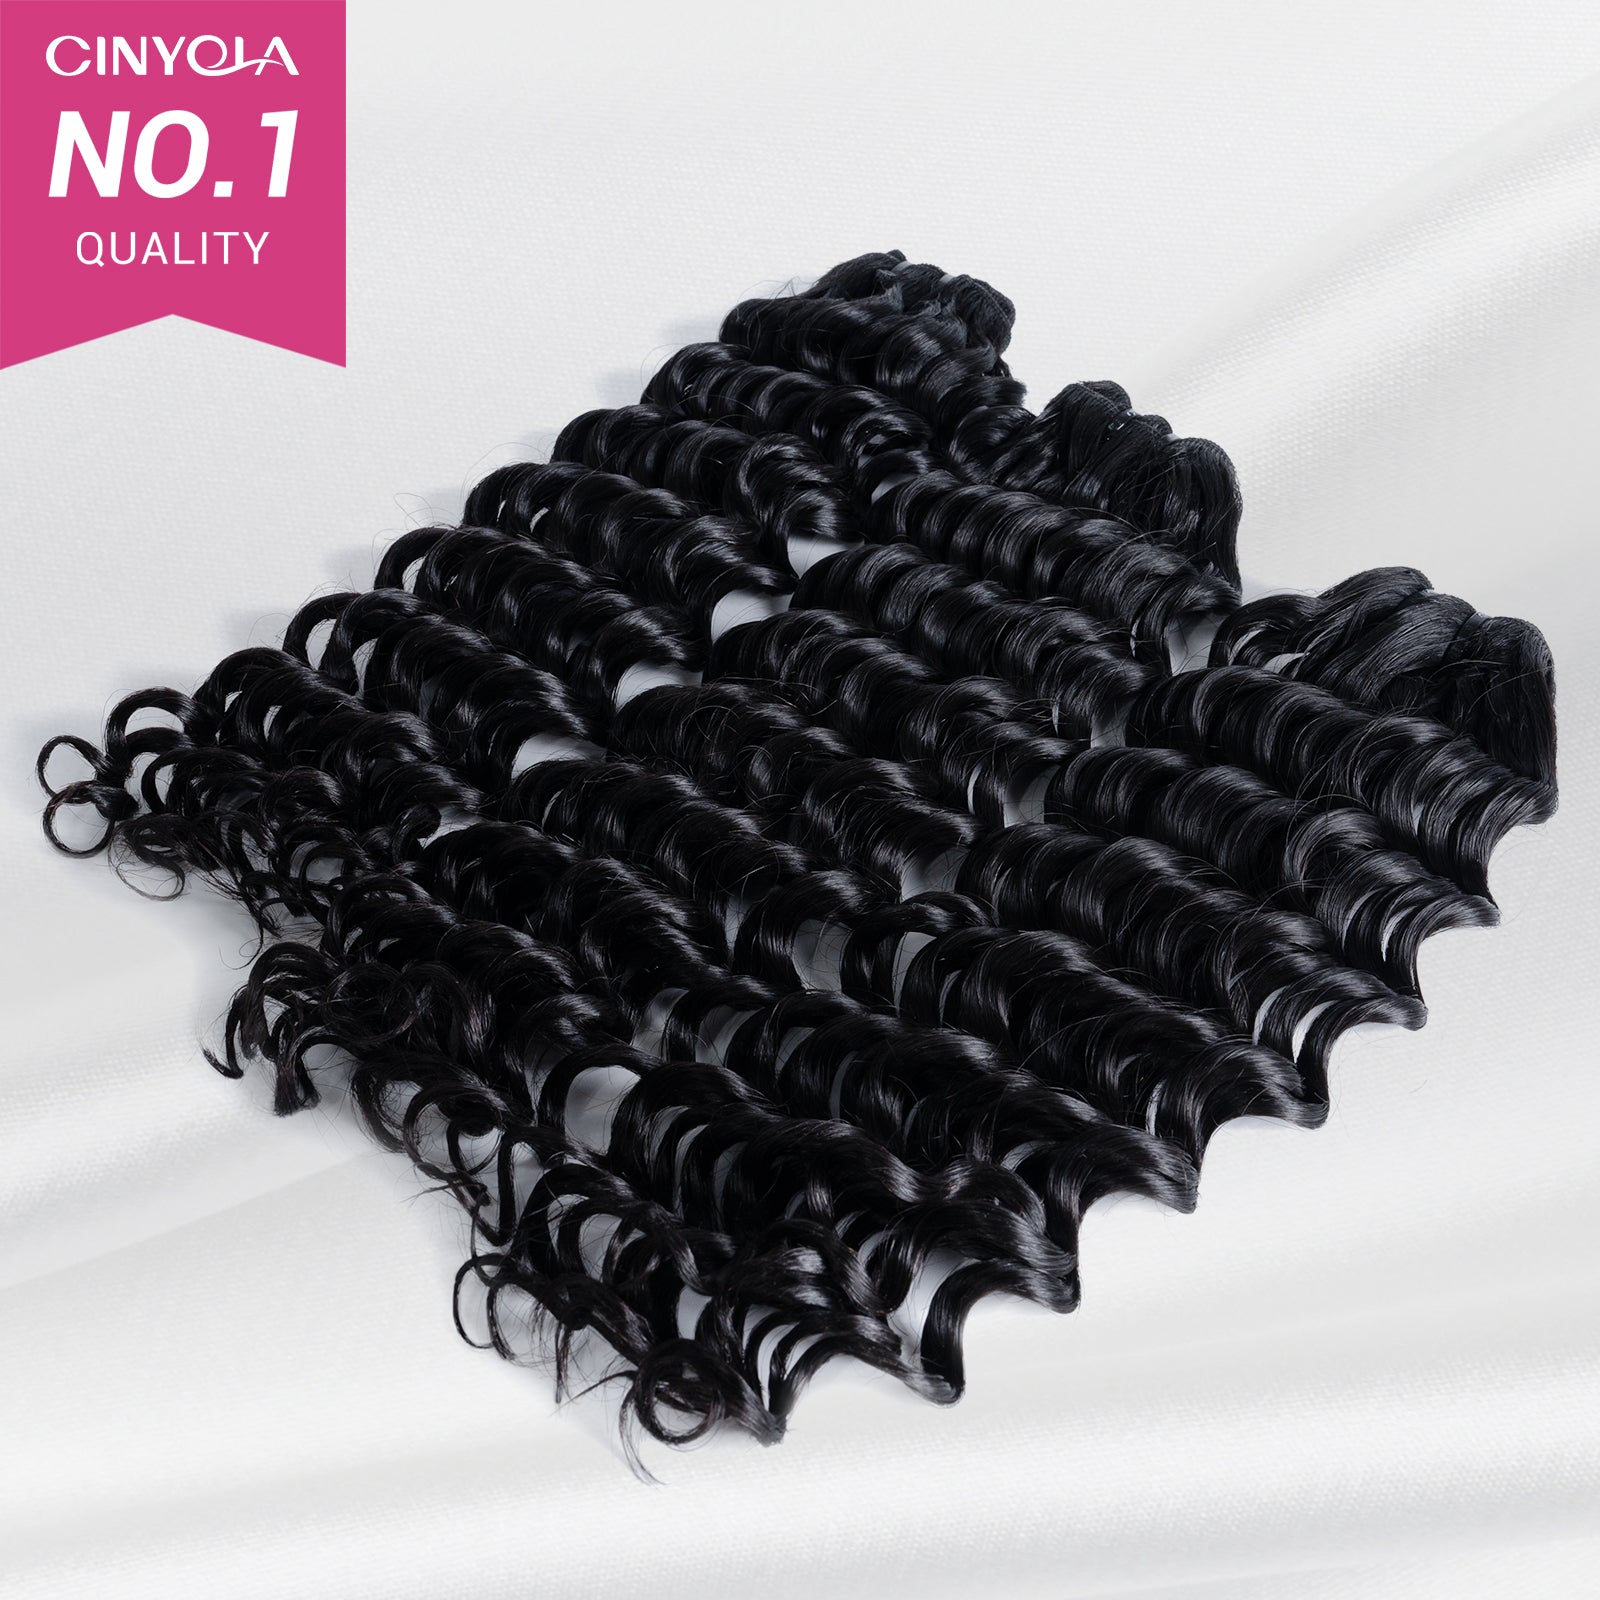
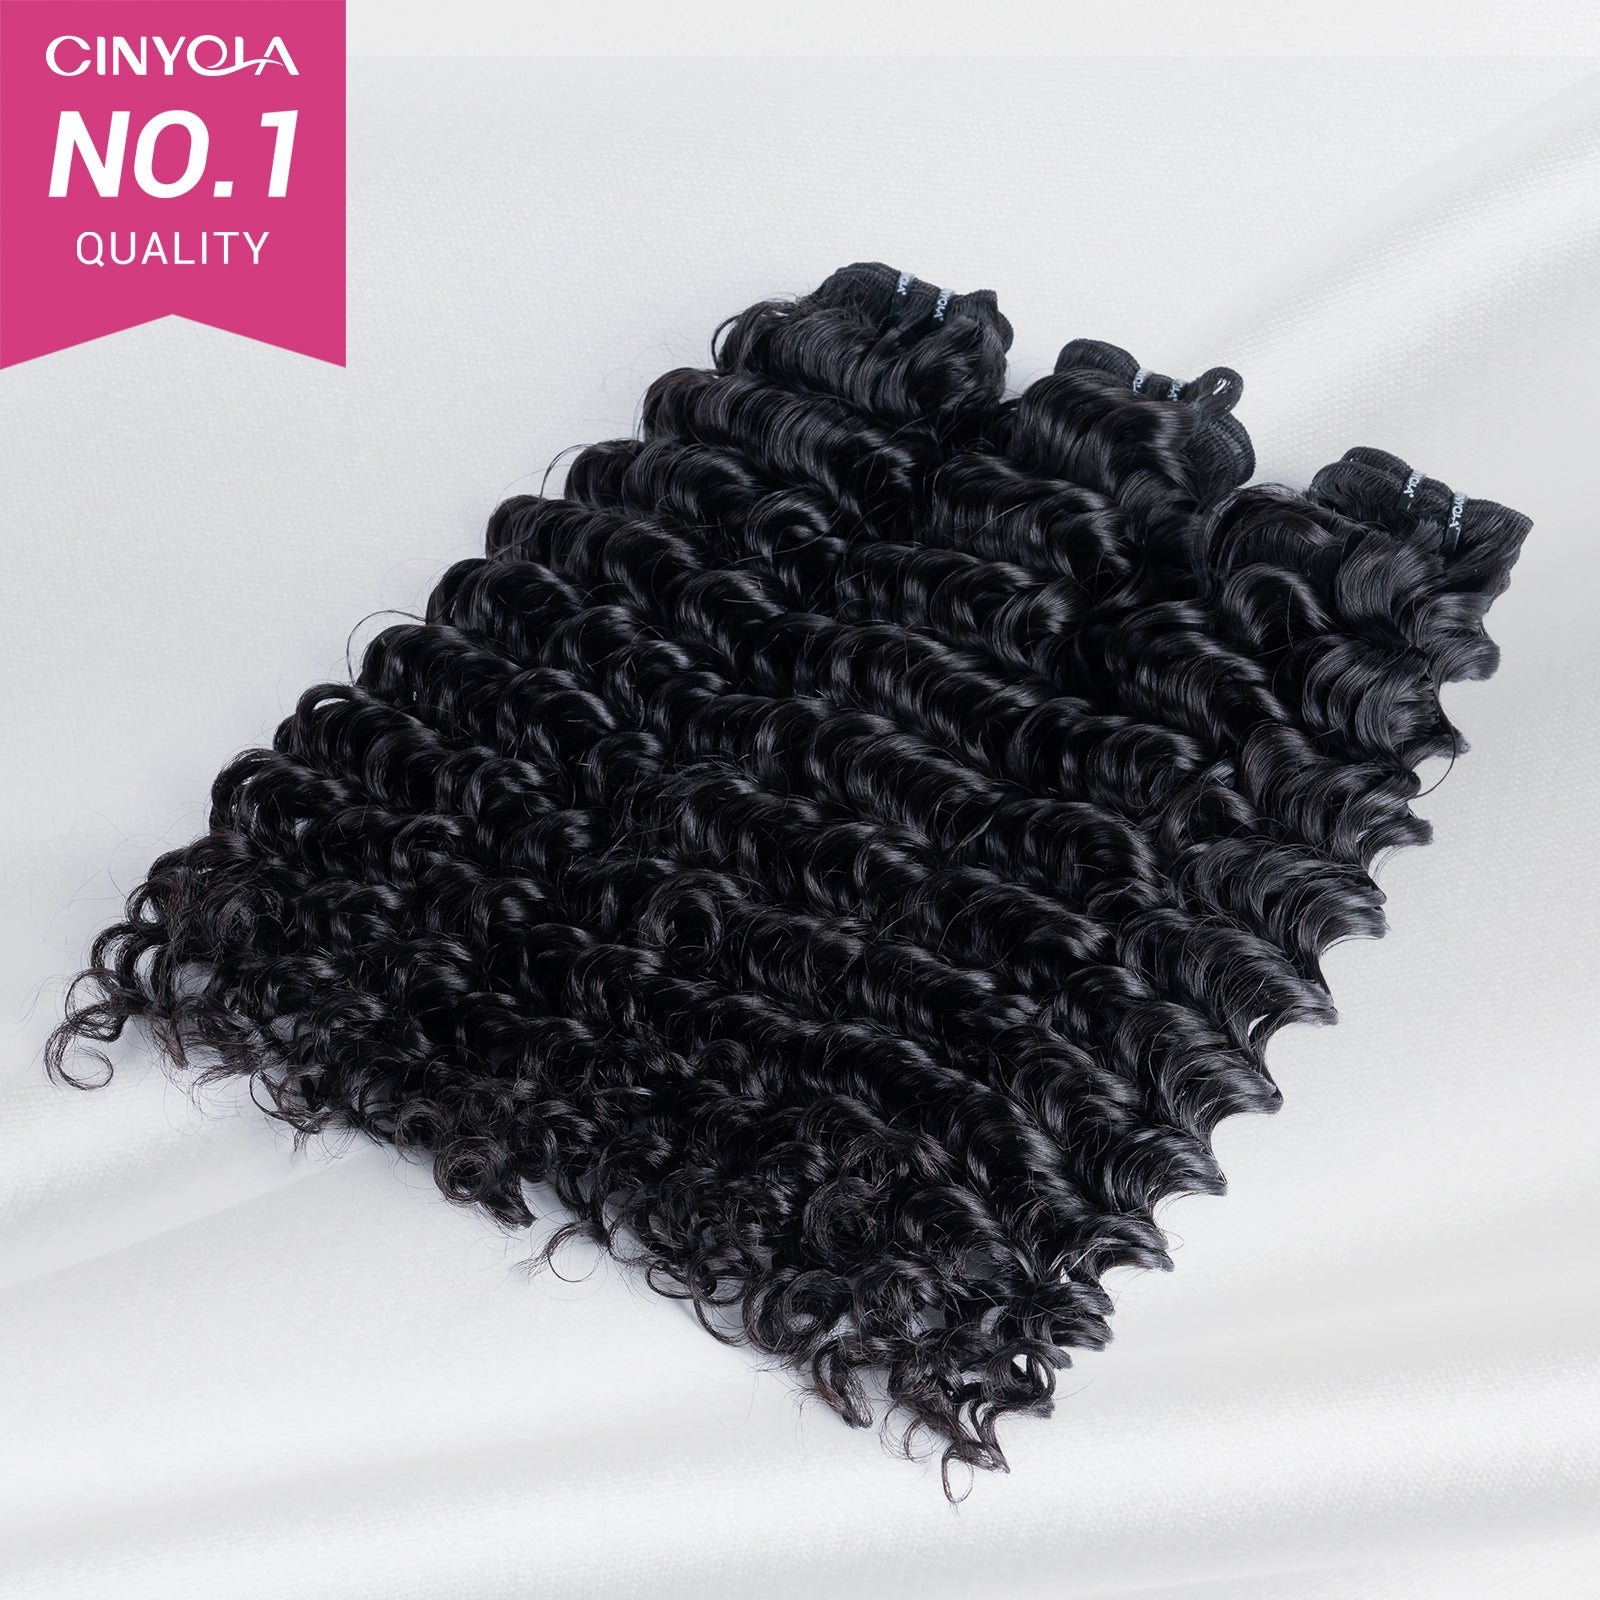
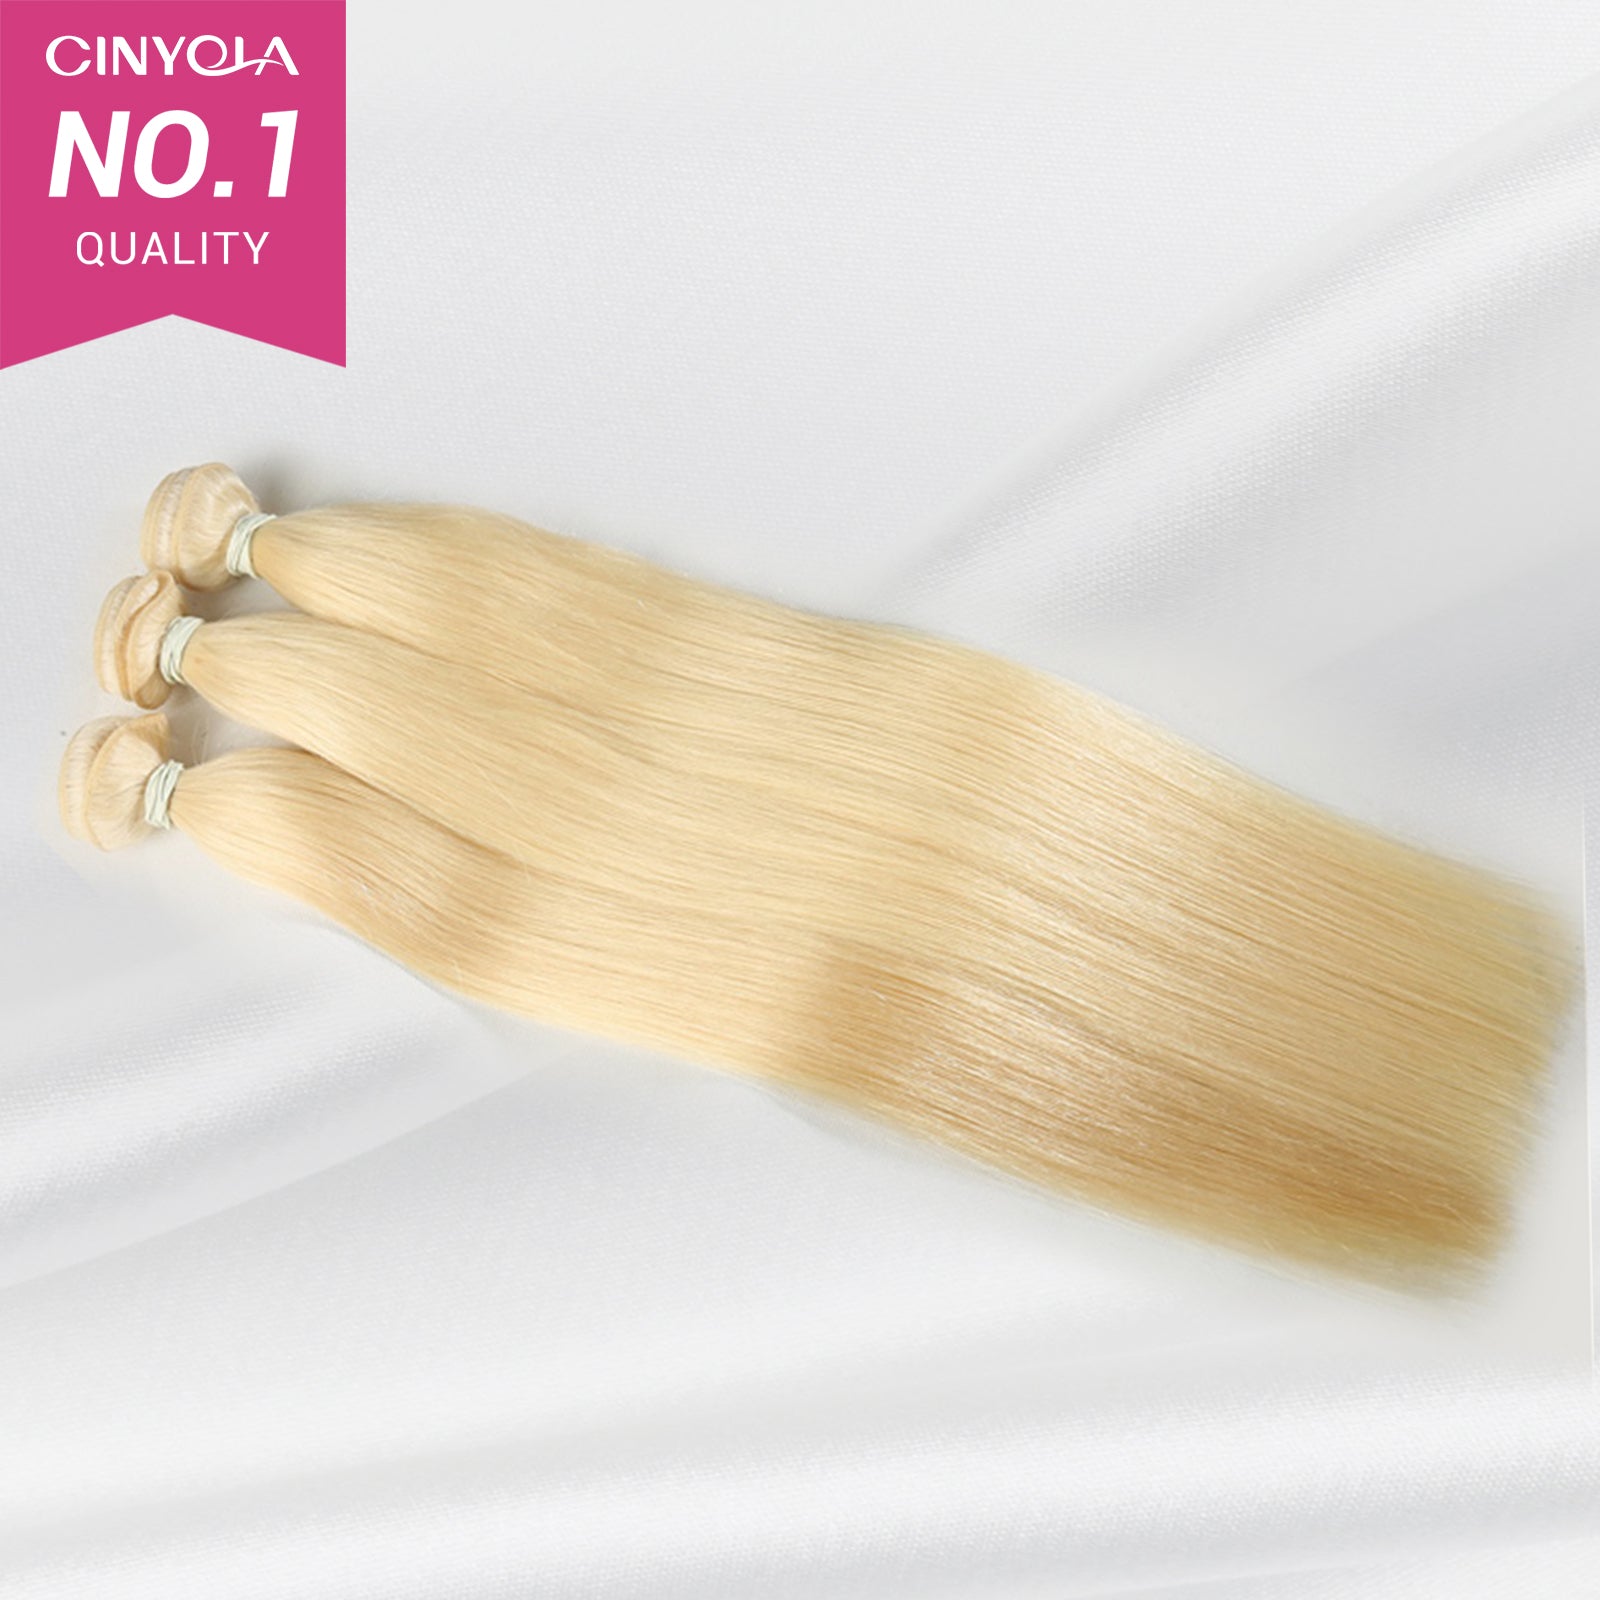
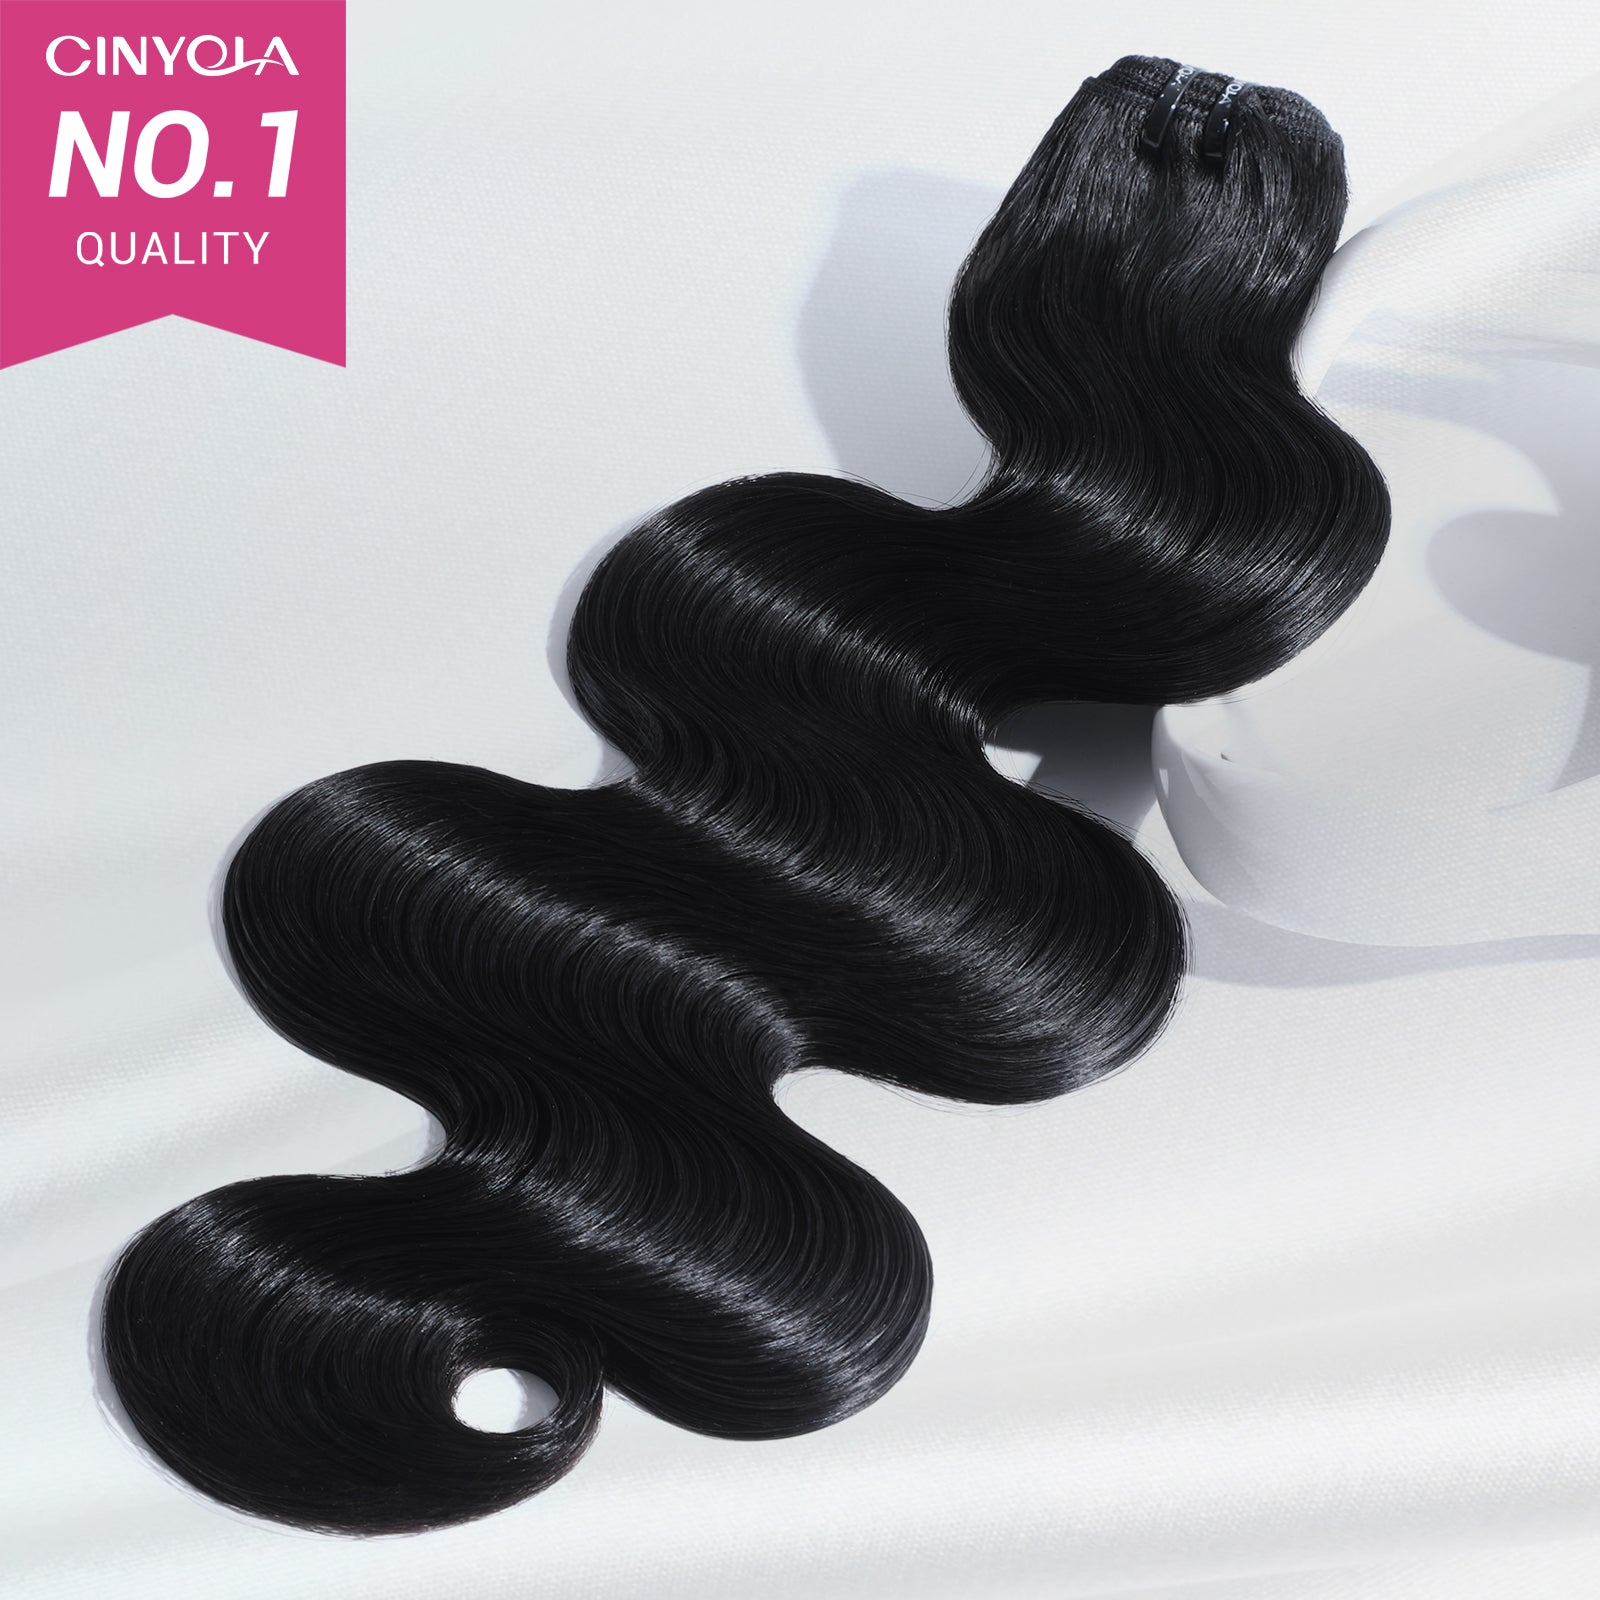
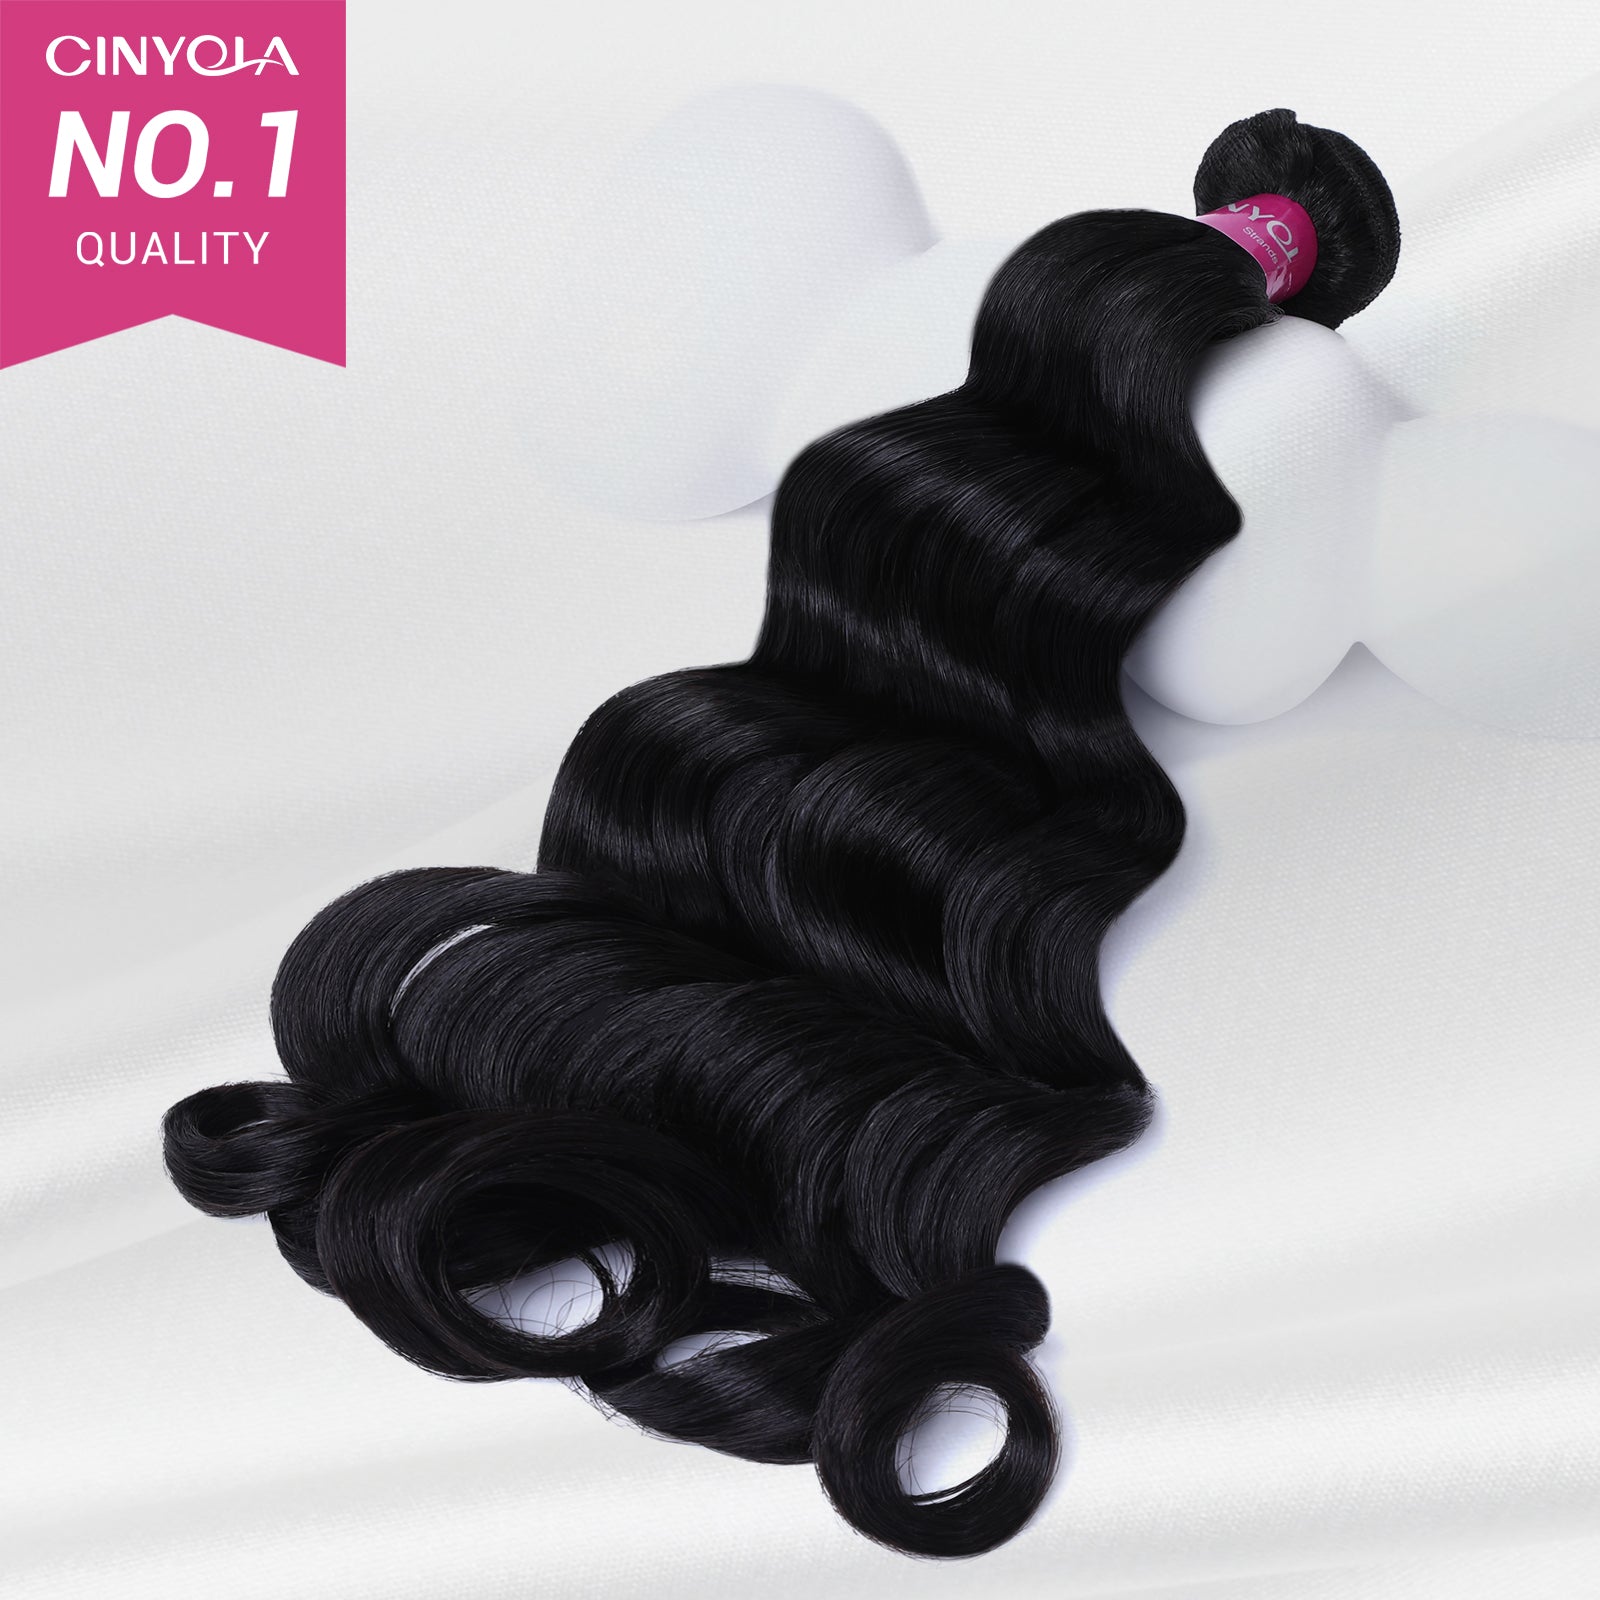
- Hair Wefts: These can be synthetic or natural hair, depending on your preference.
- Needle and Thread: Specifically designed for wig-making, usually curved needles and strong, matching thread.
- Wig Stand: To hold the wig while you work on it.
- Pins: To secure the wig cap and wefts in place.
- Scissors: For trimming and styling.
- Wig Clips (optional): For extra security and attachment.
- Glue (optional): For securing wefts, if not sewing.
Step 1: Preparing the Wig Cap
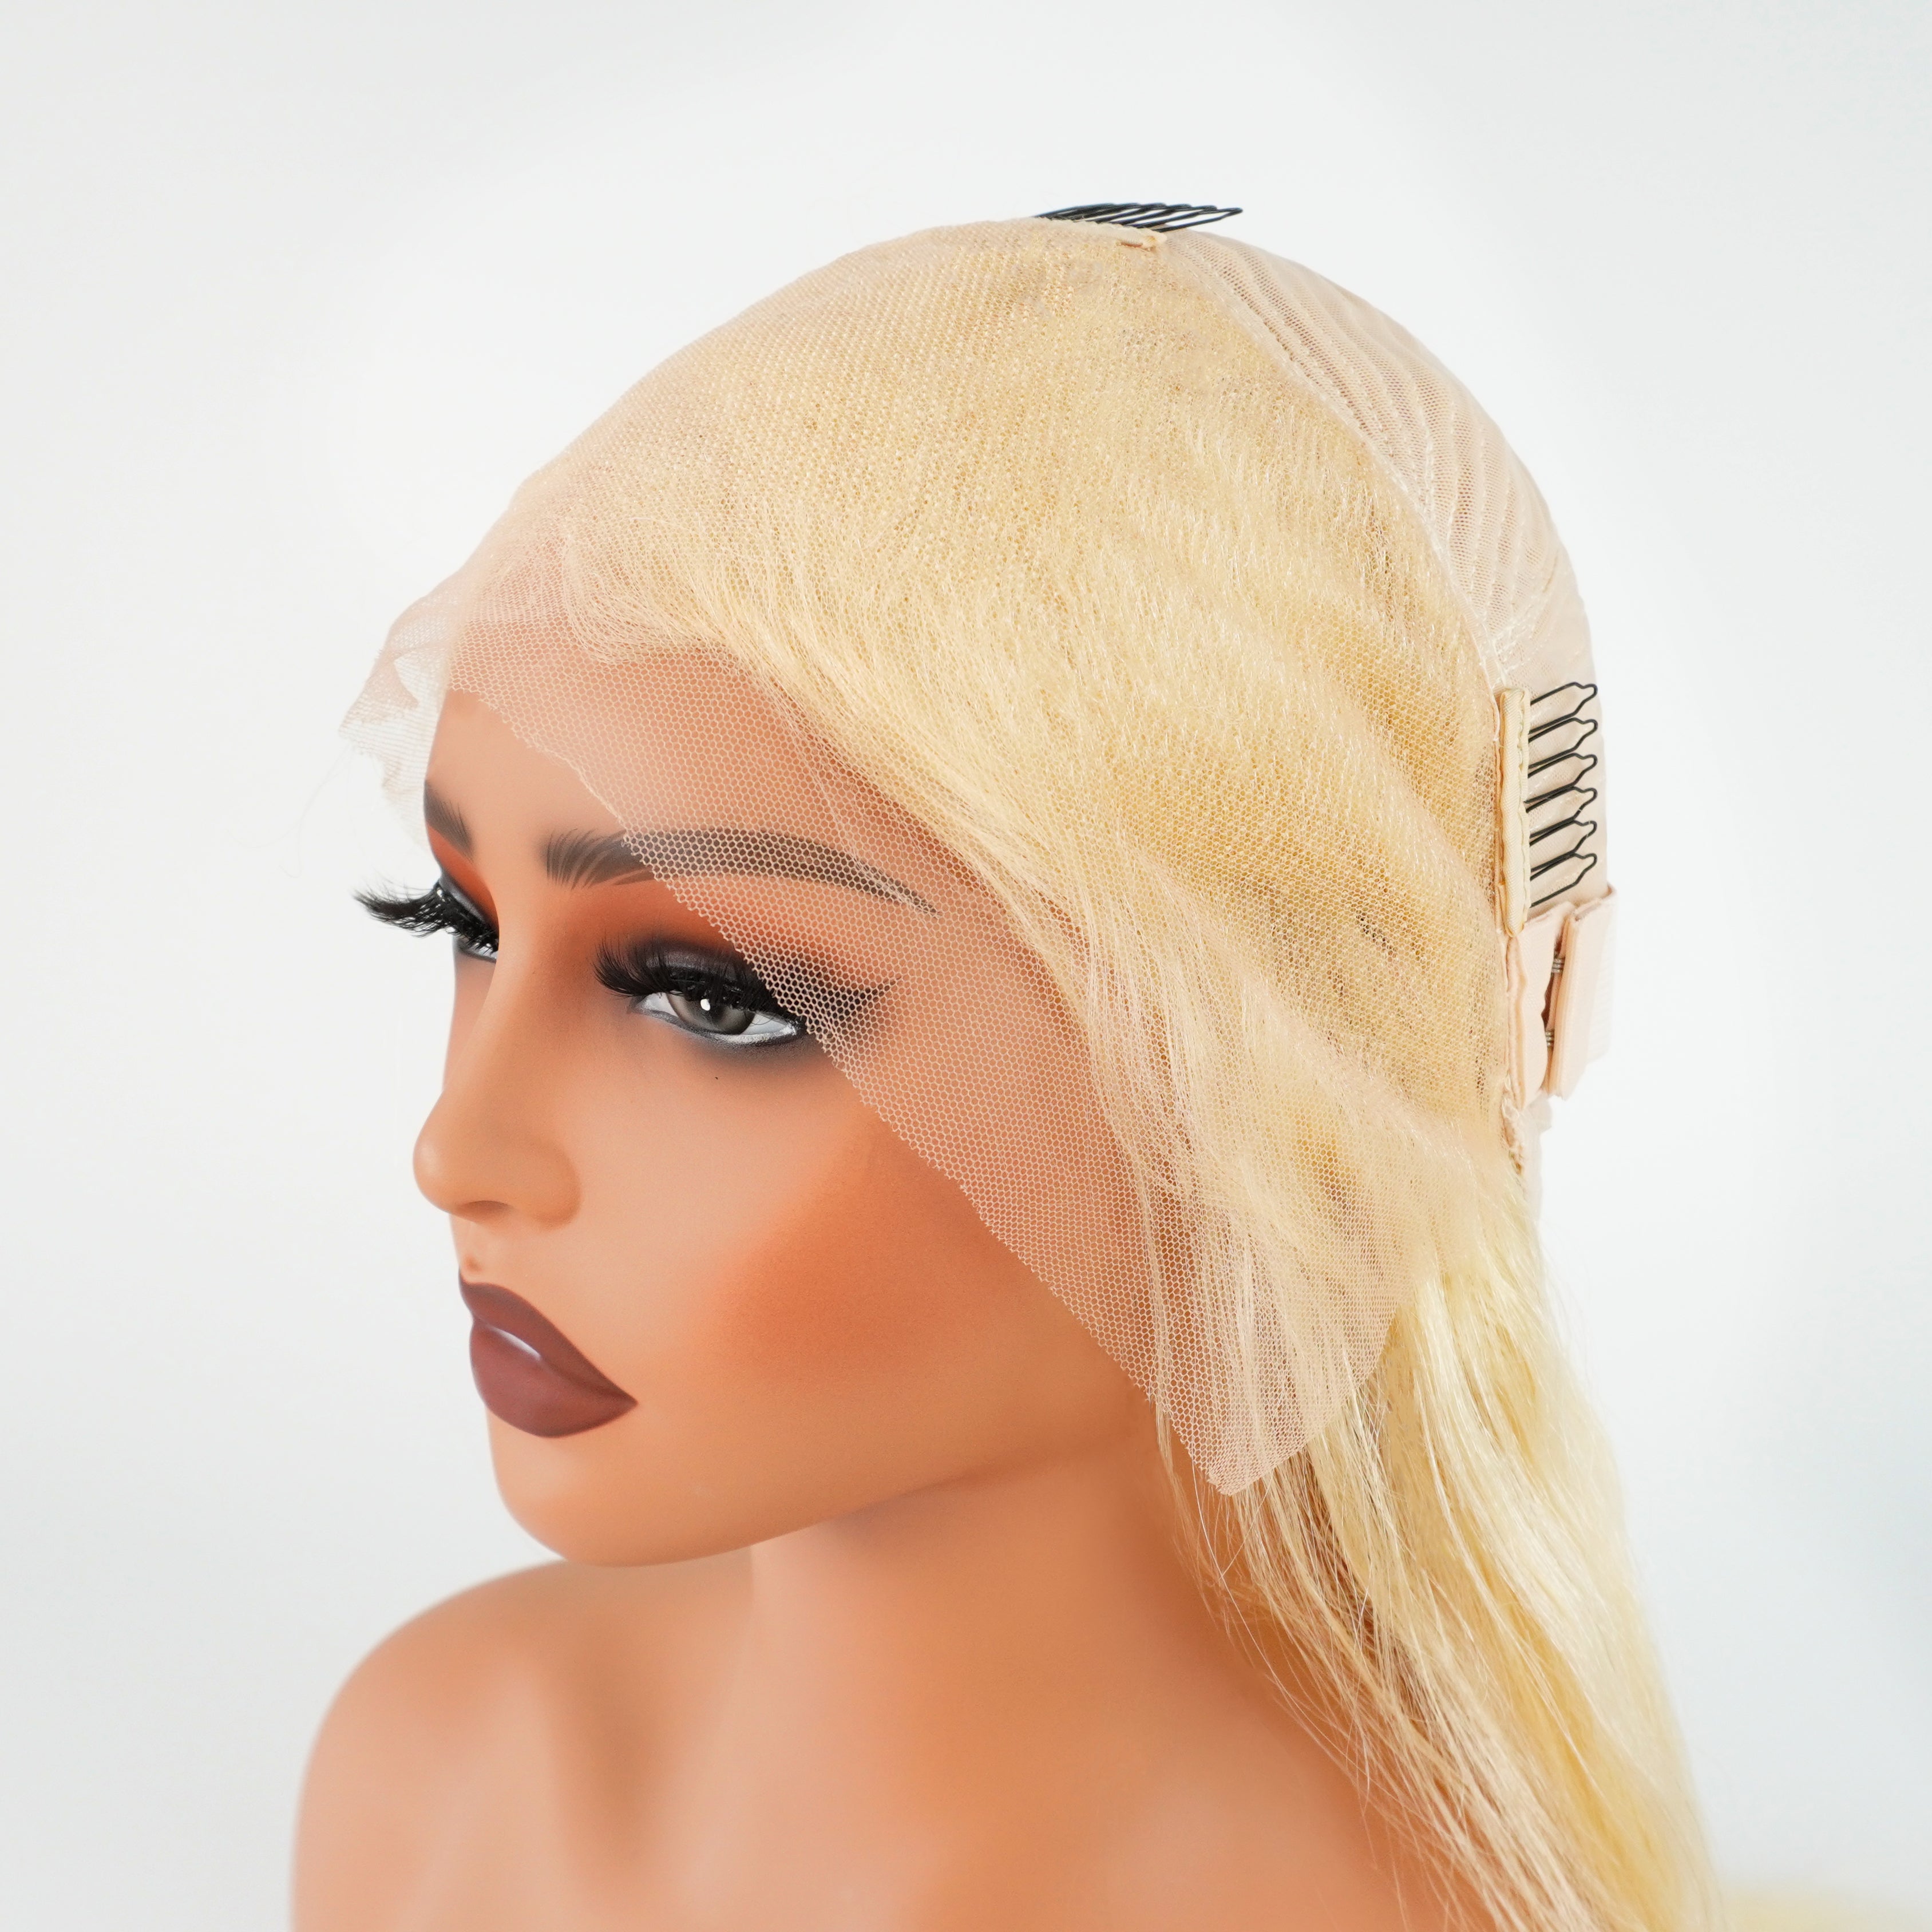
- Choose the Right Cap: Select a wig cap that matches the wearer's head size and skin tone.
- Secure the Cap: Place the cap on the wig stand and use pins to secure it firmly. Ensure it's taut but not overstretched.
Step 2: Attaching the Hair Wefts
- Measure and Cut Wefts: Measure the wefts against the cap, cutting them to fit from ear to ear.
- Sew the Wefts: Starting at the nape, sew the first weft to the cap using a backstitch or blanket stitch. Ensure the wefts lay flat and are evenly spaced.
- Continue Layering: Work your way up the cap, adding wefts layer by layer. Make sure each row is close to the previous one to avoid gaps.
Step 3: Creating the Hairline
- Front Hairline: For a natural look, use shorter wefts at the front. You can use a lace front cap for a more realistic hairline.
- Sew or Glue: Secure these wefts carefully, ensuring they blend seamlessly with the rest of the wig.
Step 4: Styling the Wig
- Cutting: Trim the wig to the desired length and shape. Use sharp scissors and cut in small sections to avoid mistakes.
- Thinning and Layering: For a natural look, thin out the hair and add layers. This can be done using thinning shears or a razor comb.
- Final Touches: Style the wig using heat tools if it’s heat-resistant, or simply brush and shape it into the desired look.
Step 5: Trying on the Wig
- Adjust Fit: Place the wig on the wearer's head and adjust for comfort and fit. Make sure the wig sits naturally on the hairline.
- Secure with Clips or Adhesive: Use wig clips or adhesive for extra security, especially if the wearer plans to wear the wig for extended periods.
Tips for Maintenance
- Cleaning: Wash the wig regularly with wig shampoo and conditioner.
- Storage: Store the wig on a stand to maintain its shape.
- Avoid Heat Damage: If the wig is synthetic, avoid using high heat styling tools.
Conclusion
Making a wig requires patience and practice, but the result is a custom piece tailored to your or your client’s preferences. Follow this step-by-step guide, and you'll be well on your way to creating beautiful, professional-quality wigs. Happy wig-making!
















Leave a comment
This site is protected by hCaptcha and the hCaptcha Privacy Policy and Terms of Service apply.